Have you ever tried to knit braids cables ?
These beauties tend to impress, but they're actually easy to knit and beginners friendly !
Here we will learn how to knit a "three strands" braid cable.
We will use a diagram and a video to understand the (very simple) process.
For this tutorial you will need:
- A wool leftover of your choice
- Knitting needles, size according to your yarn
- Two stitches markers
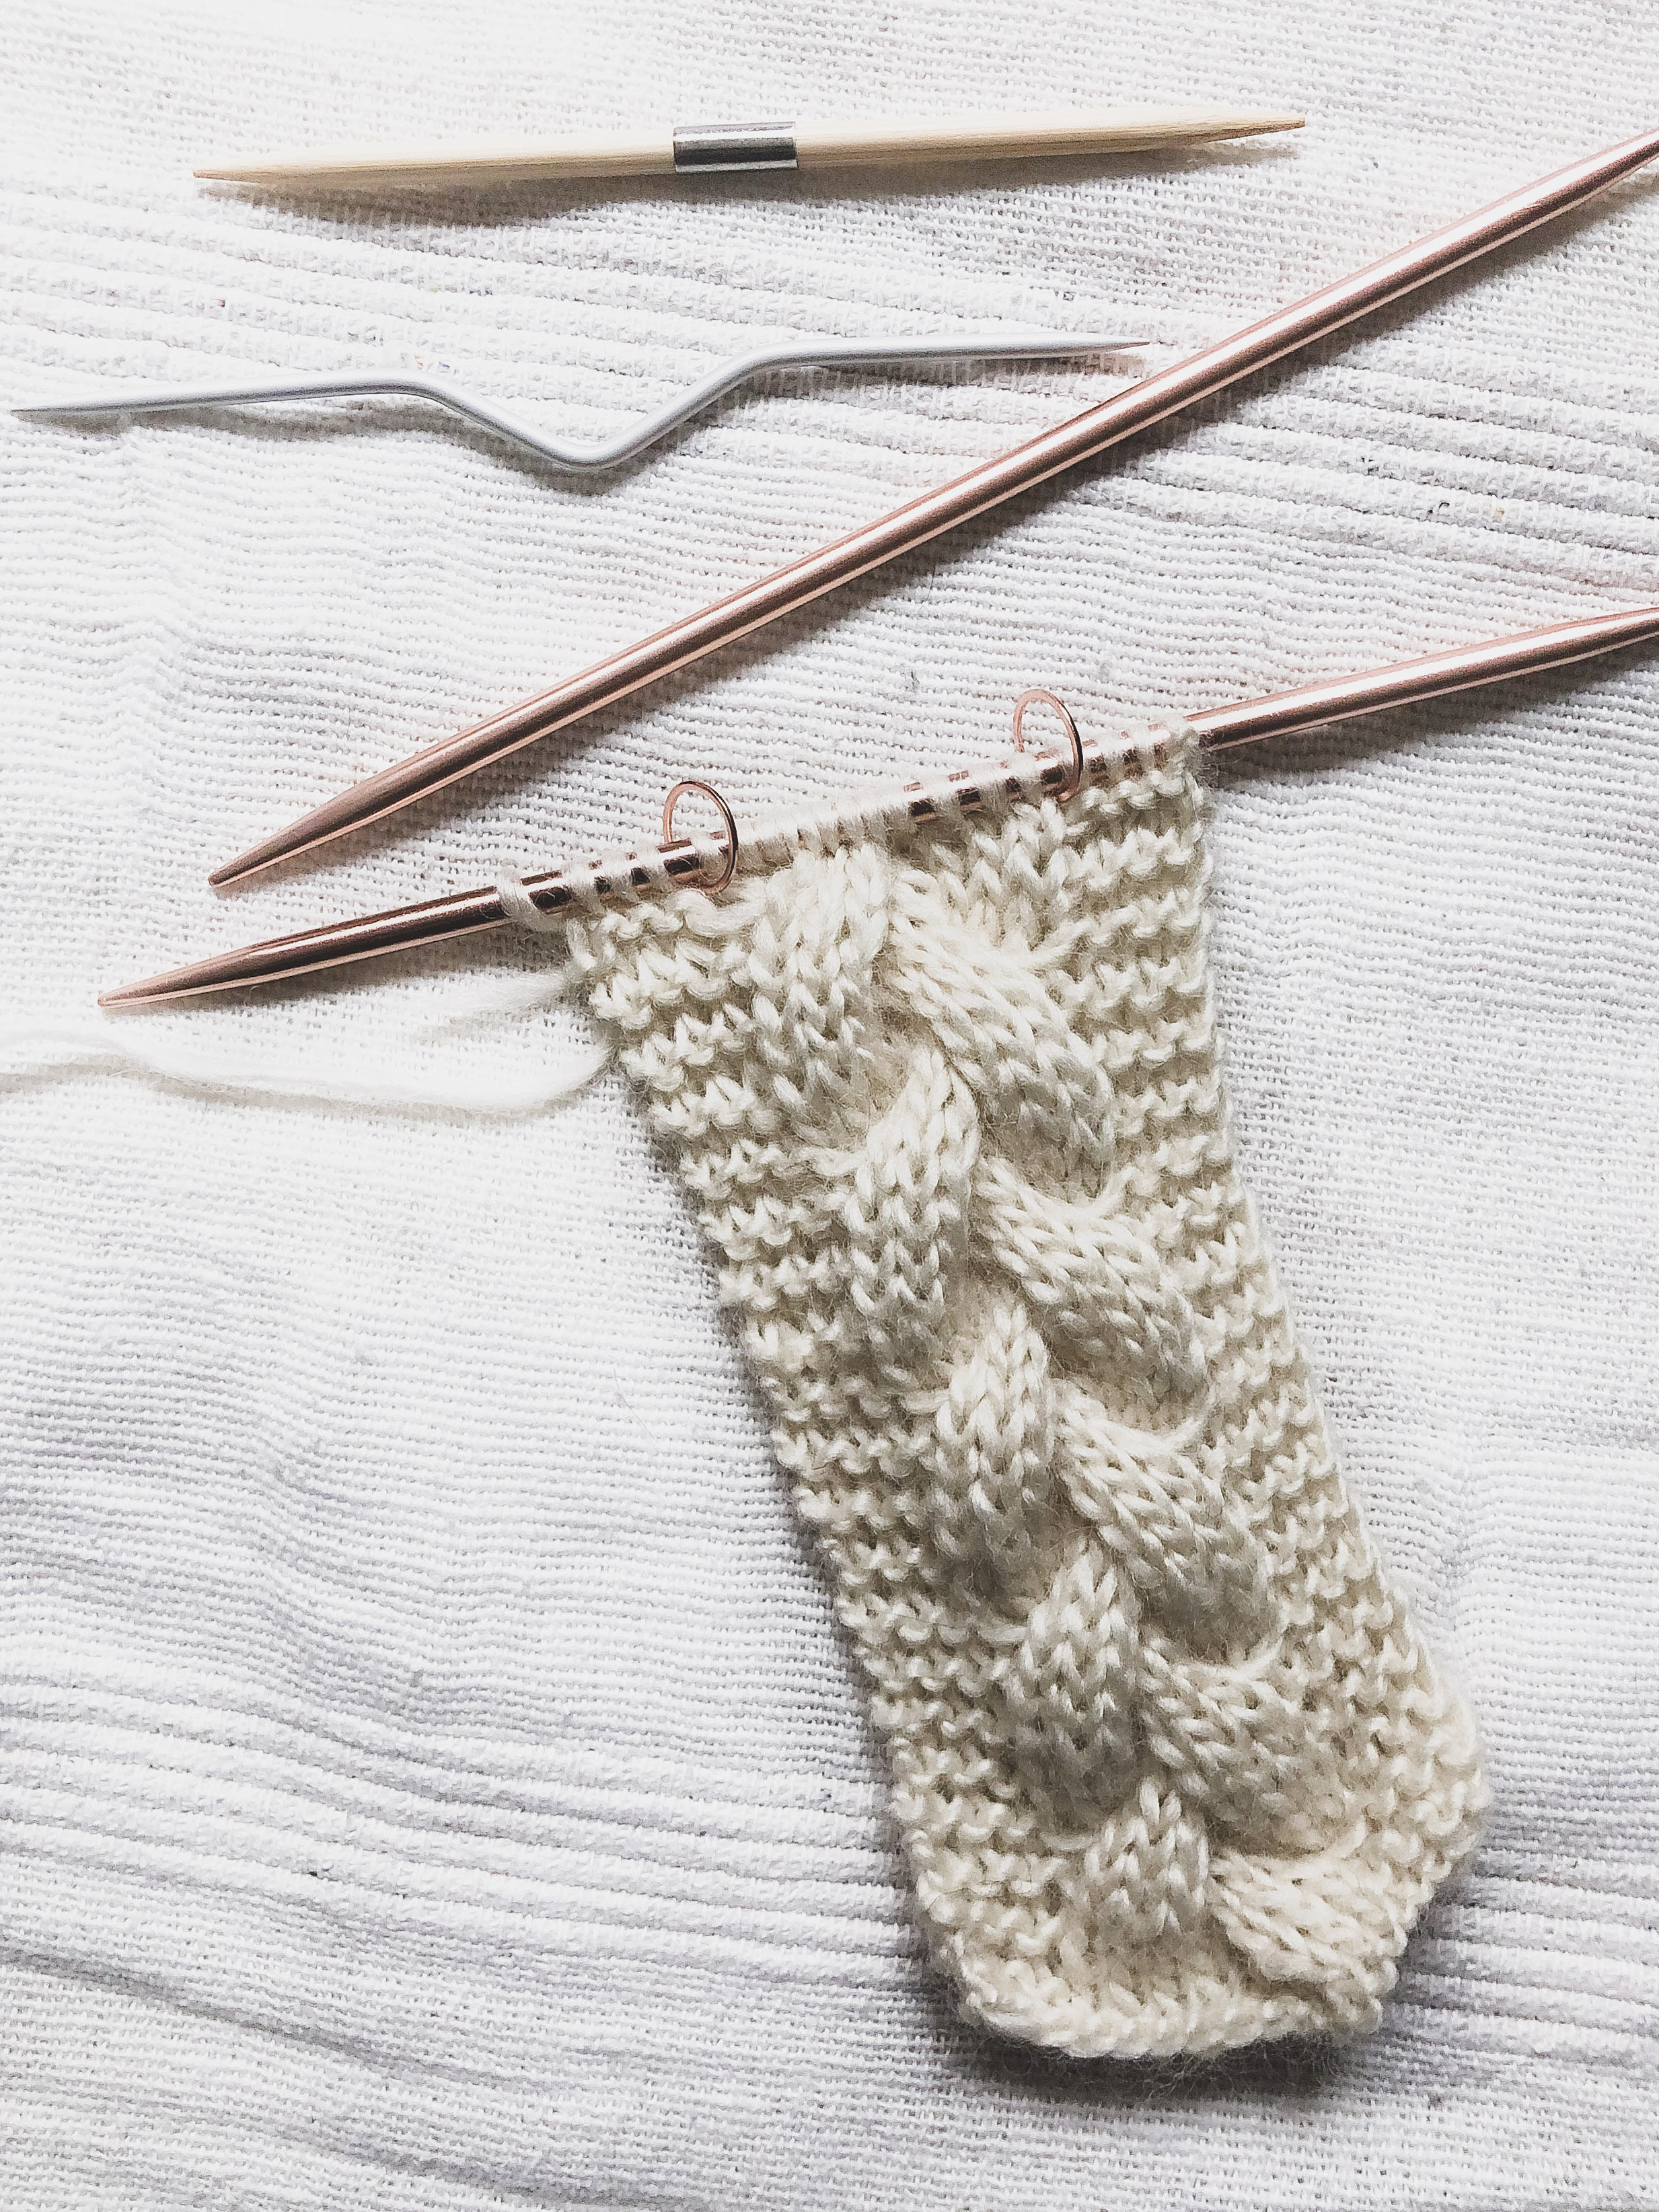
- A cable knit needle
Here is an example of cable needles :

You can find different sizes and shapes, so it's up to you to try and choose the ones that work best for you.
But for the first test, you can try with a hook !
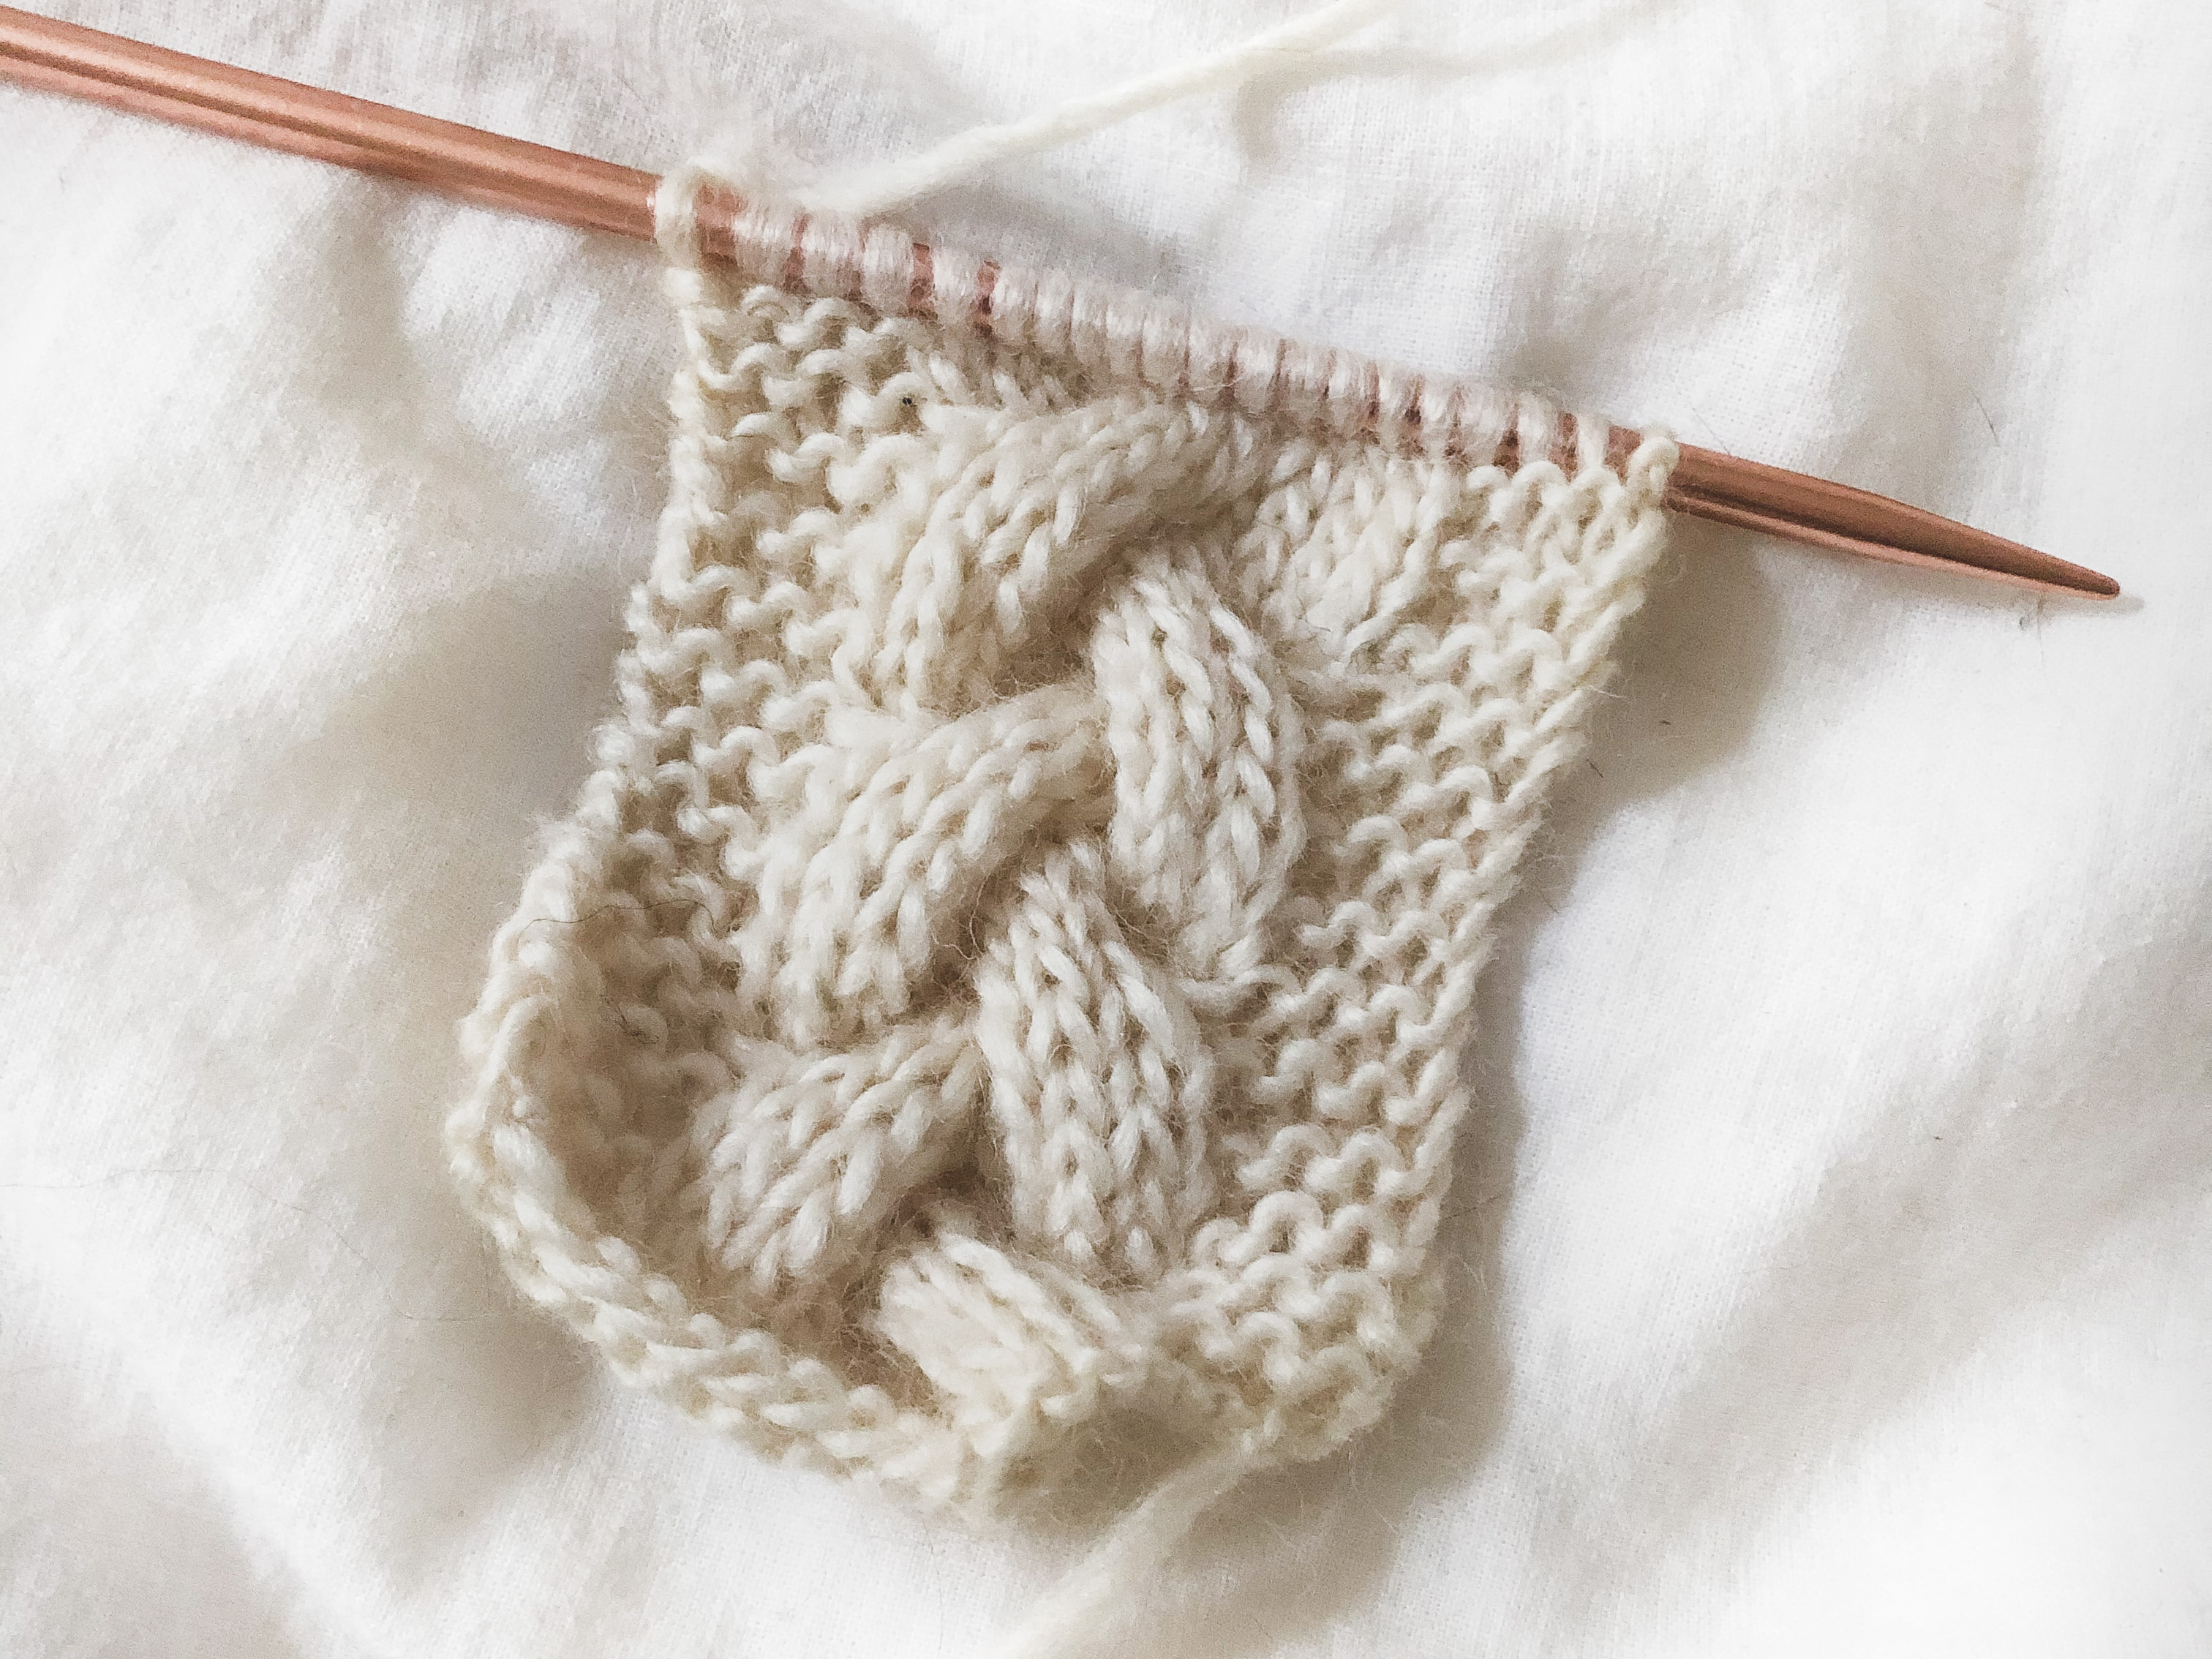
The braid cables are often knitted in stockinette stitch, on a "background" of reverse stockinette stitch or a garter stitch. This gives them a nice relief because the cables are well defined.
We will learn in this post how to knit a braid cable in stockinette stitch, on a "background" in garter stitch. The braid is made by 12 stitches, i.e. 3 strands made of 4 stitches.
The braid cable is created by alternating cable front and back.
In a pattern, you will usually find the following abbreviations:
C(x)F : Cable (x) Front
C(x)B : Cable (x) Back
(x) correspond to the number of the “cable stitches”. In our example, we will cable 4 stitches by the front or the back 4 more stitches, so 8 stitches in total. We will therefore use the abbreviations C8F and C8B.
 |
 |
 |
How to cable front and cable back ? :
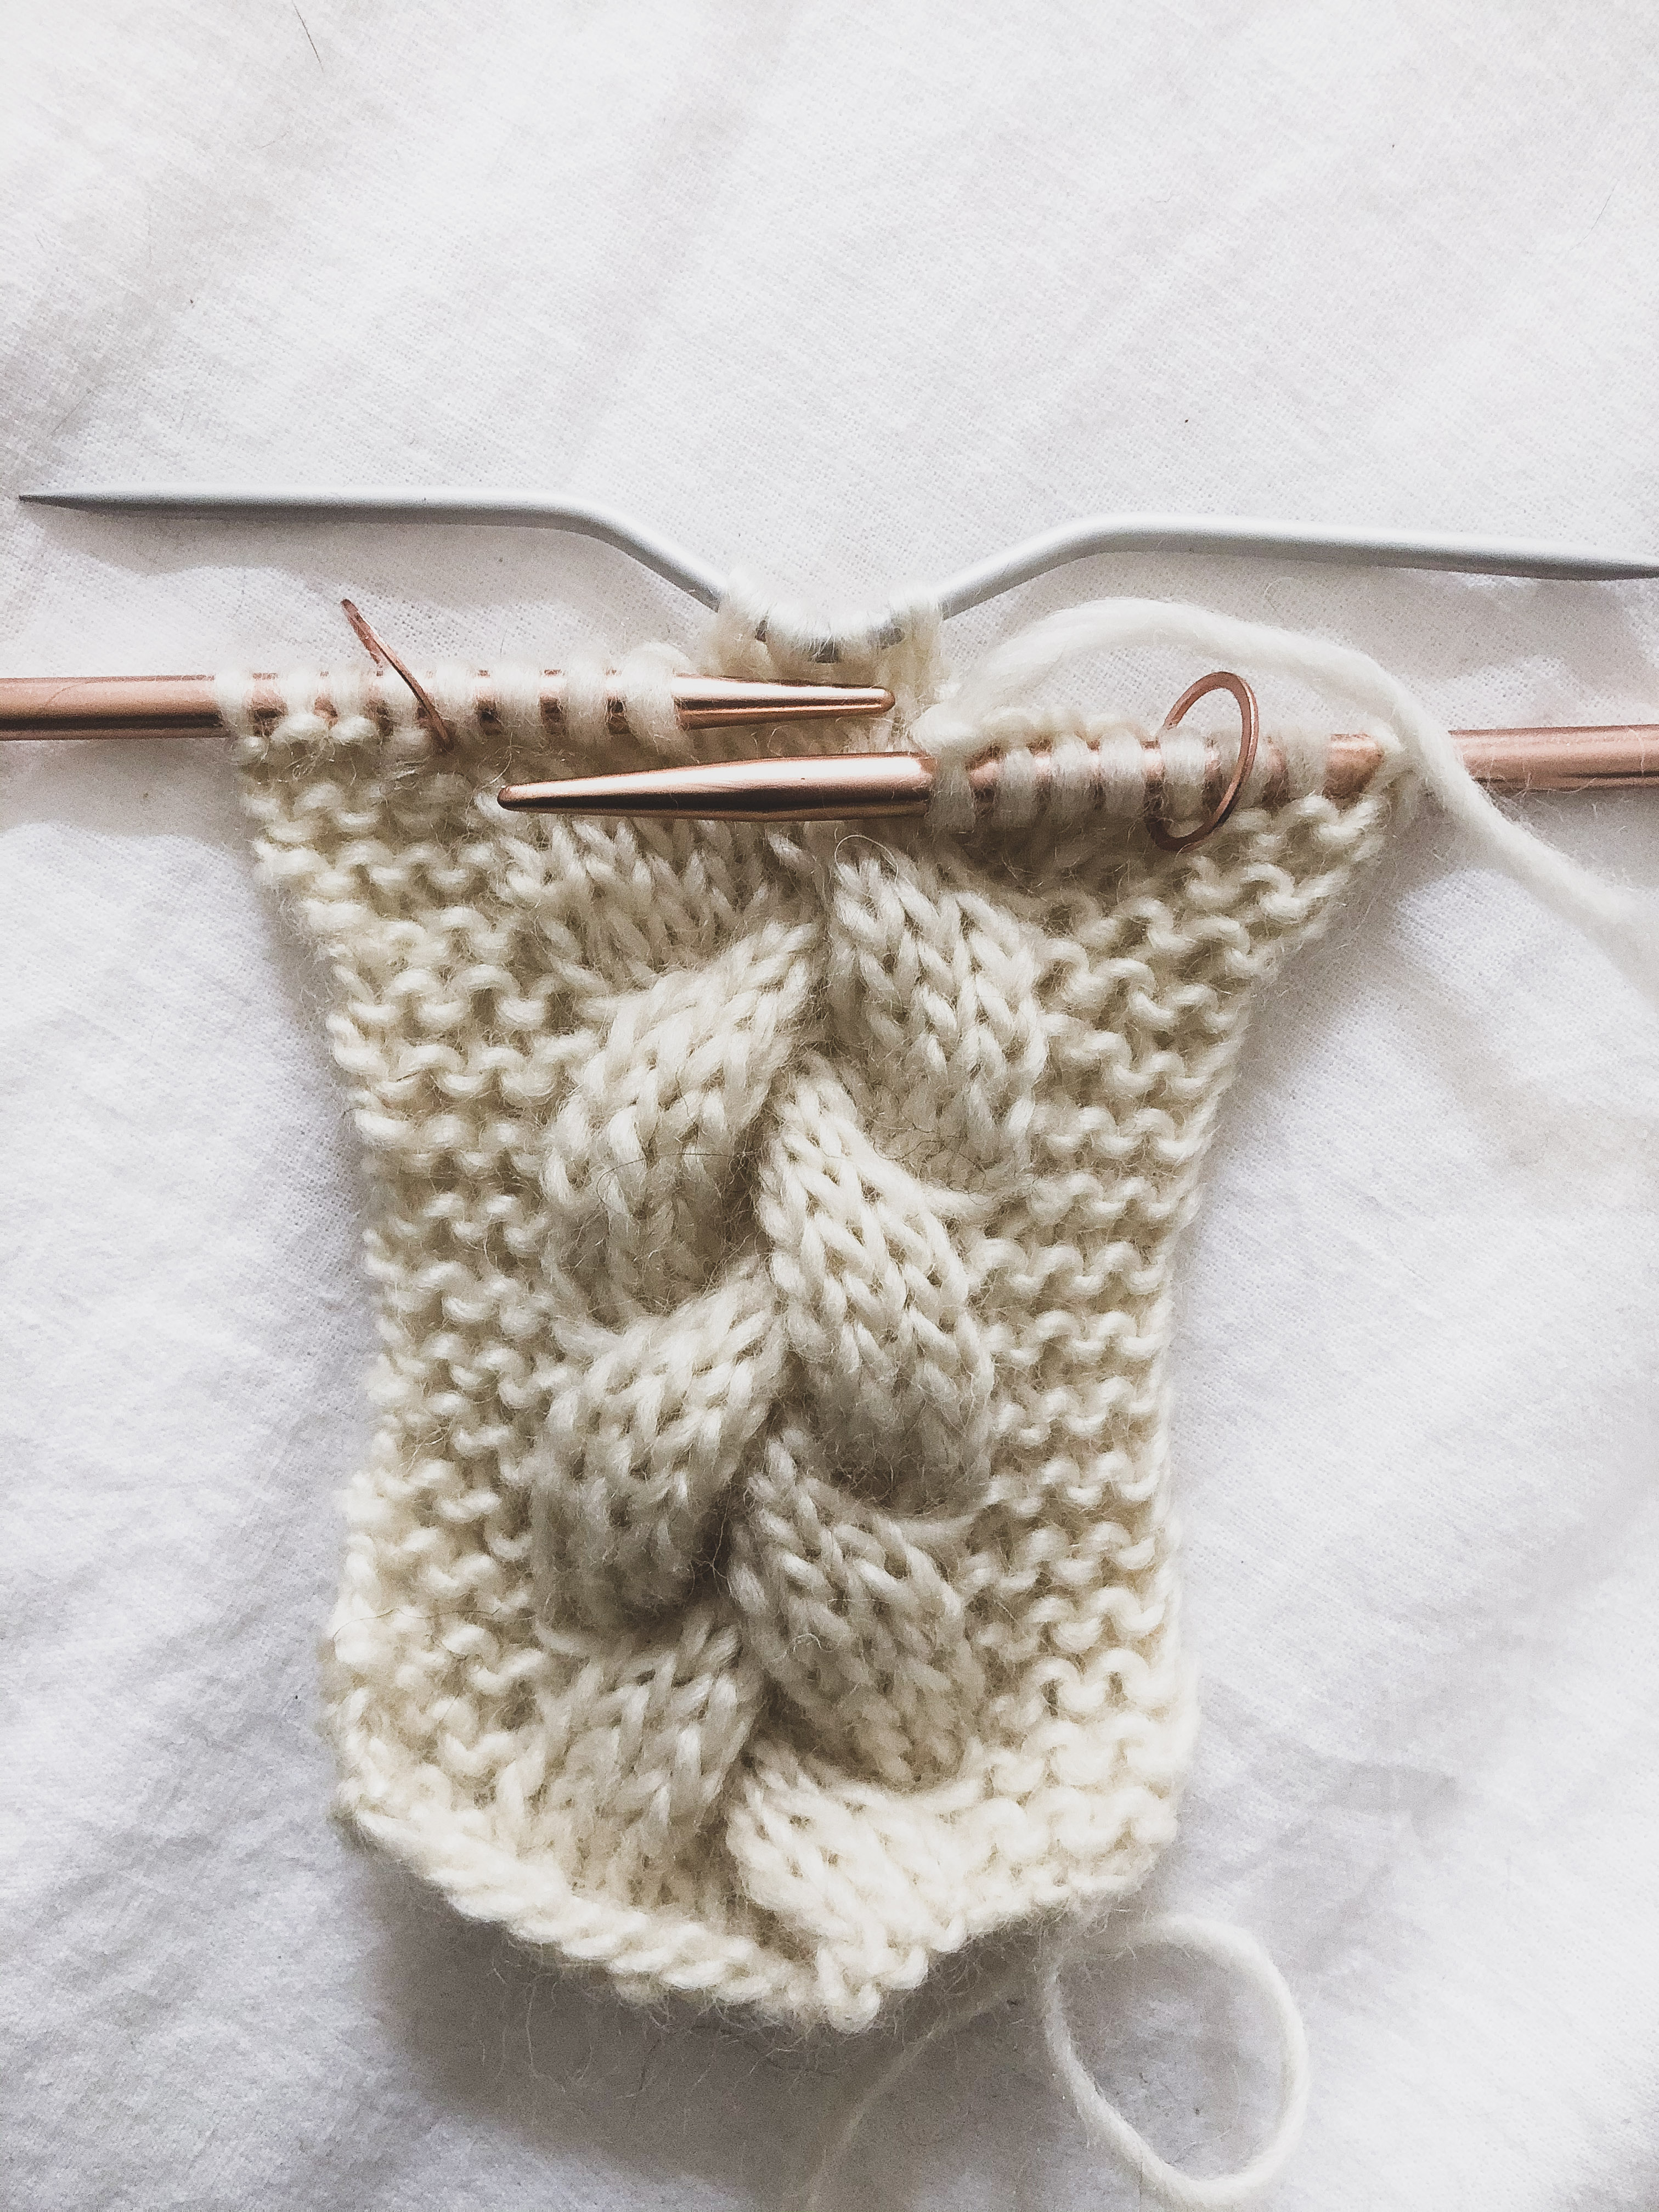
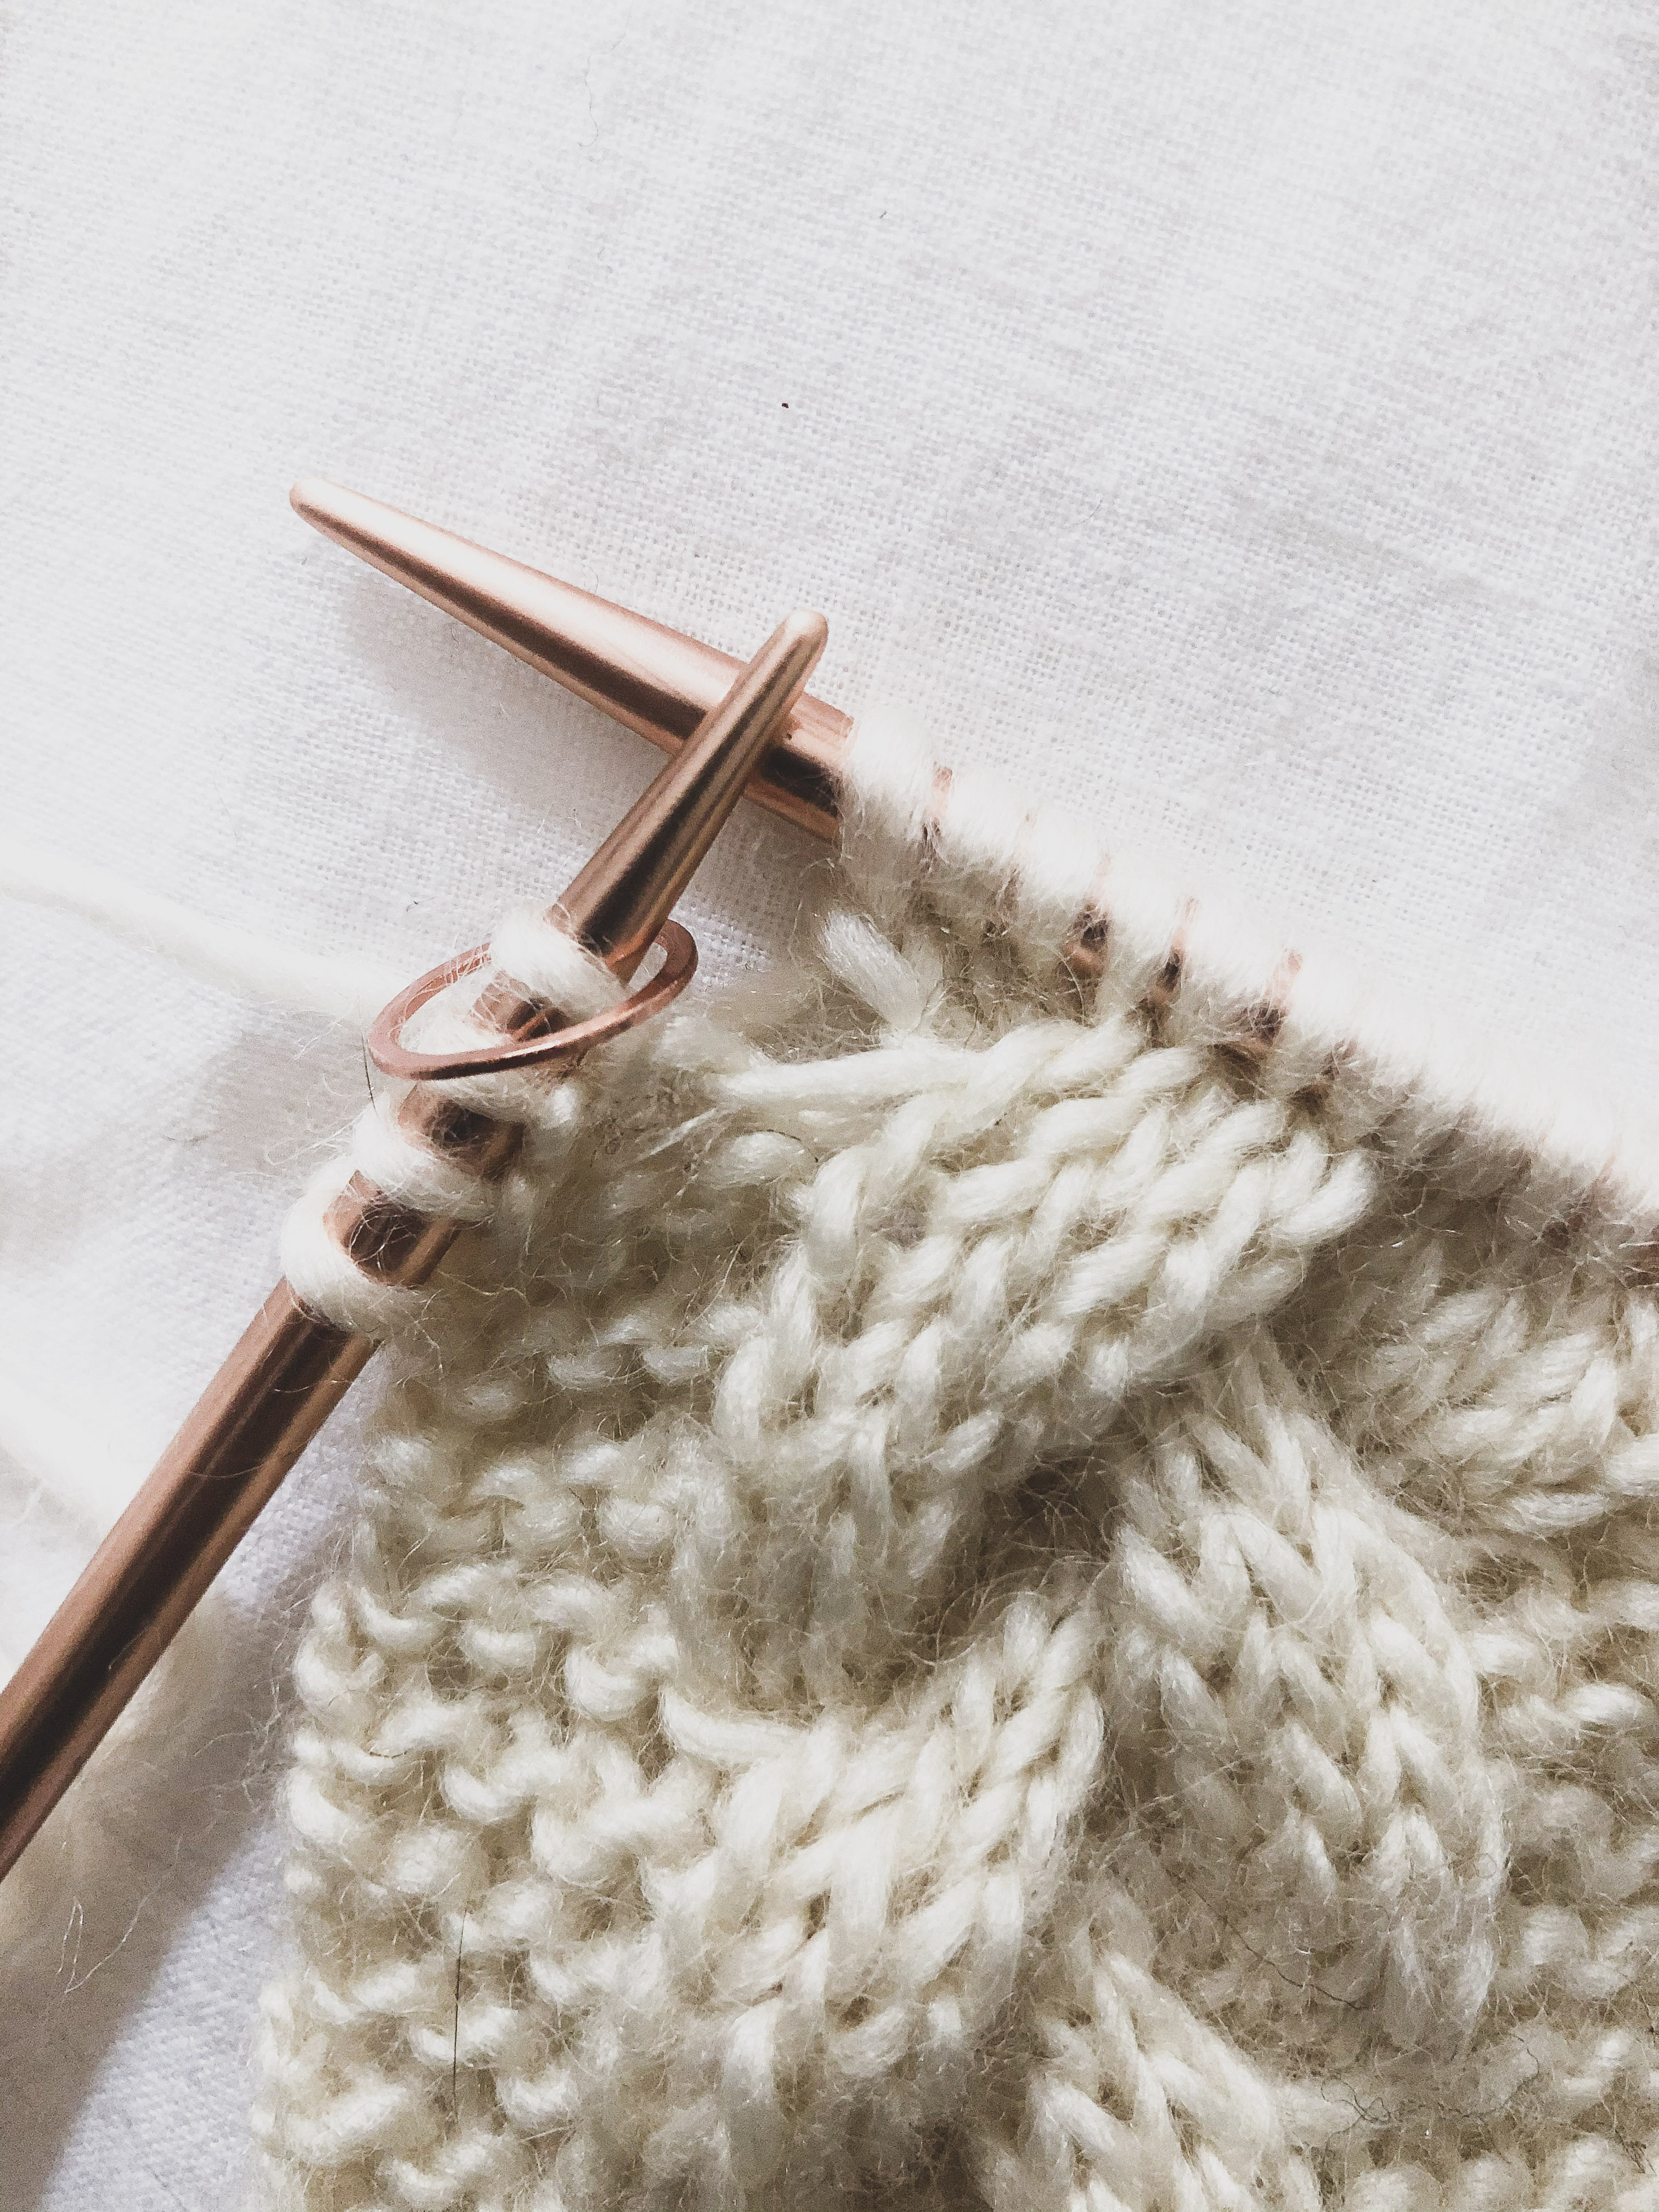
Cable 8 front (C8F) : On the right side of your work, slip 4 stitches on your cable needle, hold at front of your work, knit 4, then knit the 4 stitches from the cable needle.
Cable 8 back (C8B) : On the right side of your work, slip 4 stitches on your cable needle, hold at back of your work, knit 4, then knit the 4 stitches from the cable needle.
You will have more details in this video to learn how to cable front & back :
(Turn the subtitles ON to see the explanations, available in English and French)
PROCESS :
Nothing better than knitting a swatch to practice !
This swatch will have a total of 20 stitches, included the braid cable made by 12 stitches (3x4 stitches).
For this example, we will cable front and back 1 row out of 4.
Here is the diagram of the swatch :
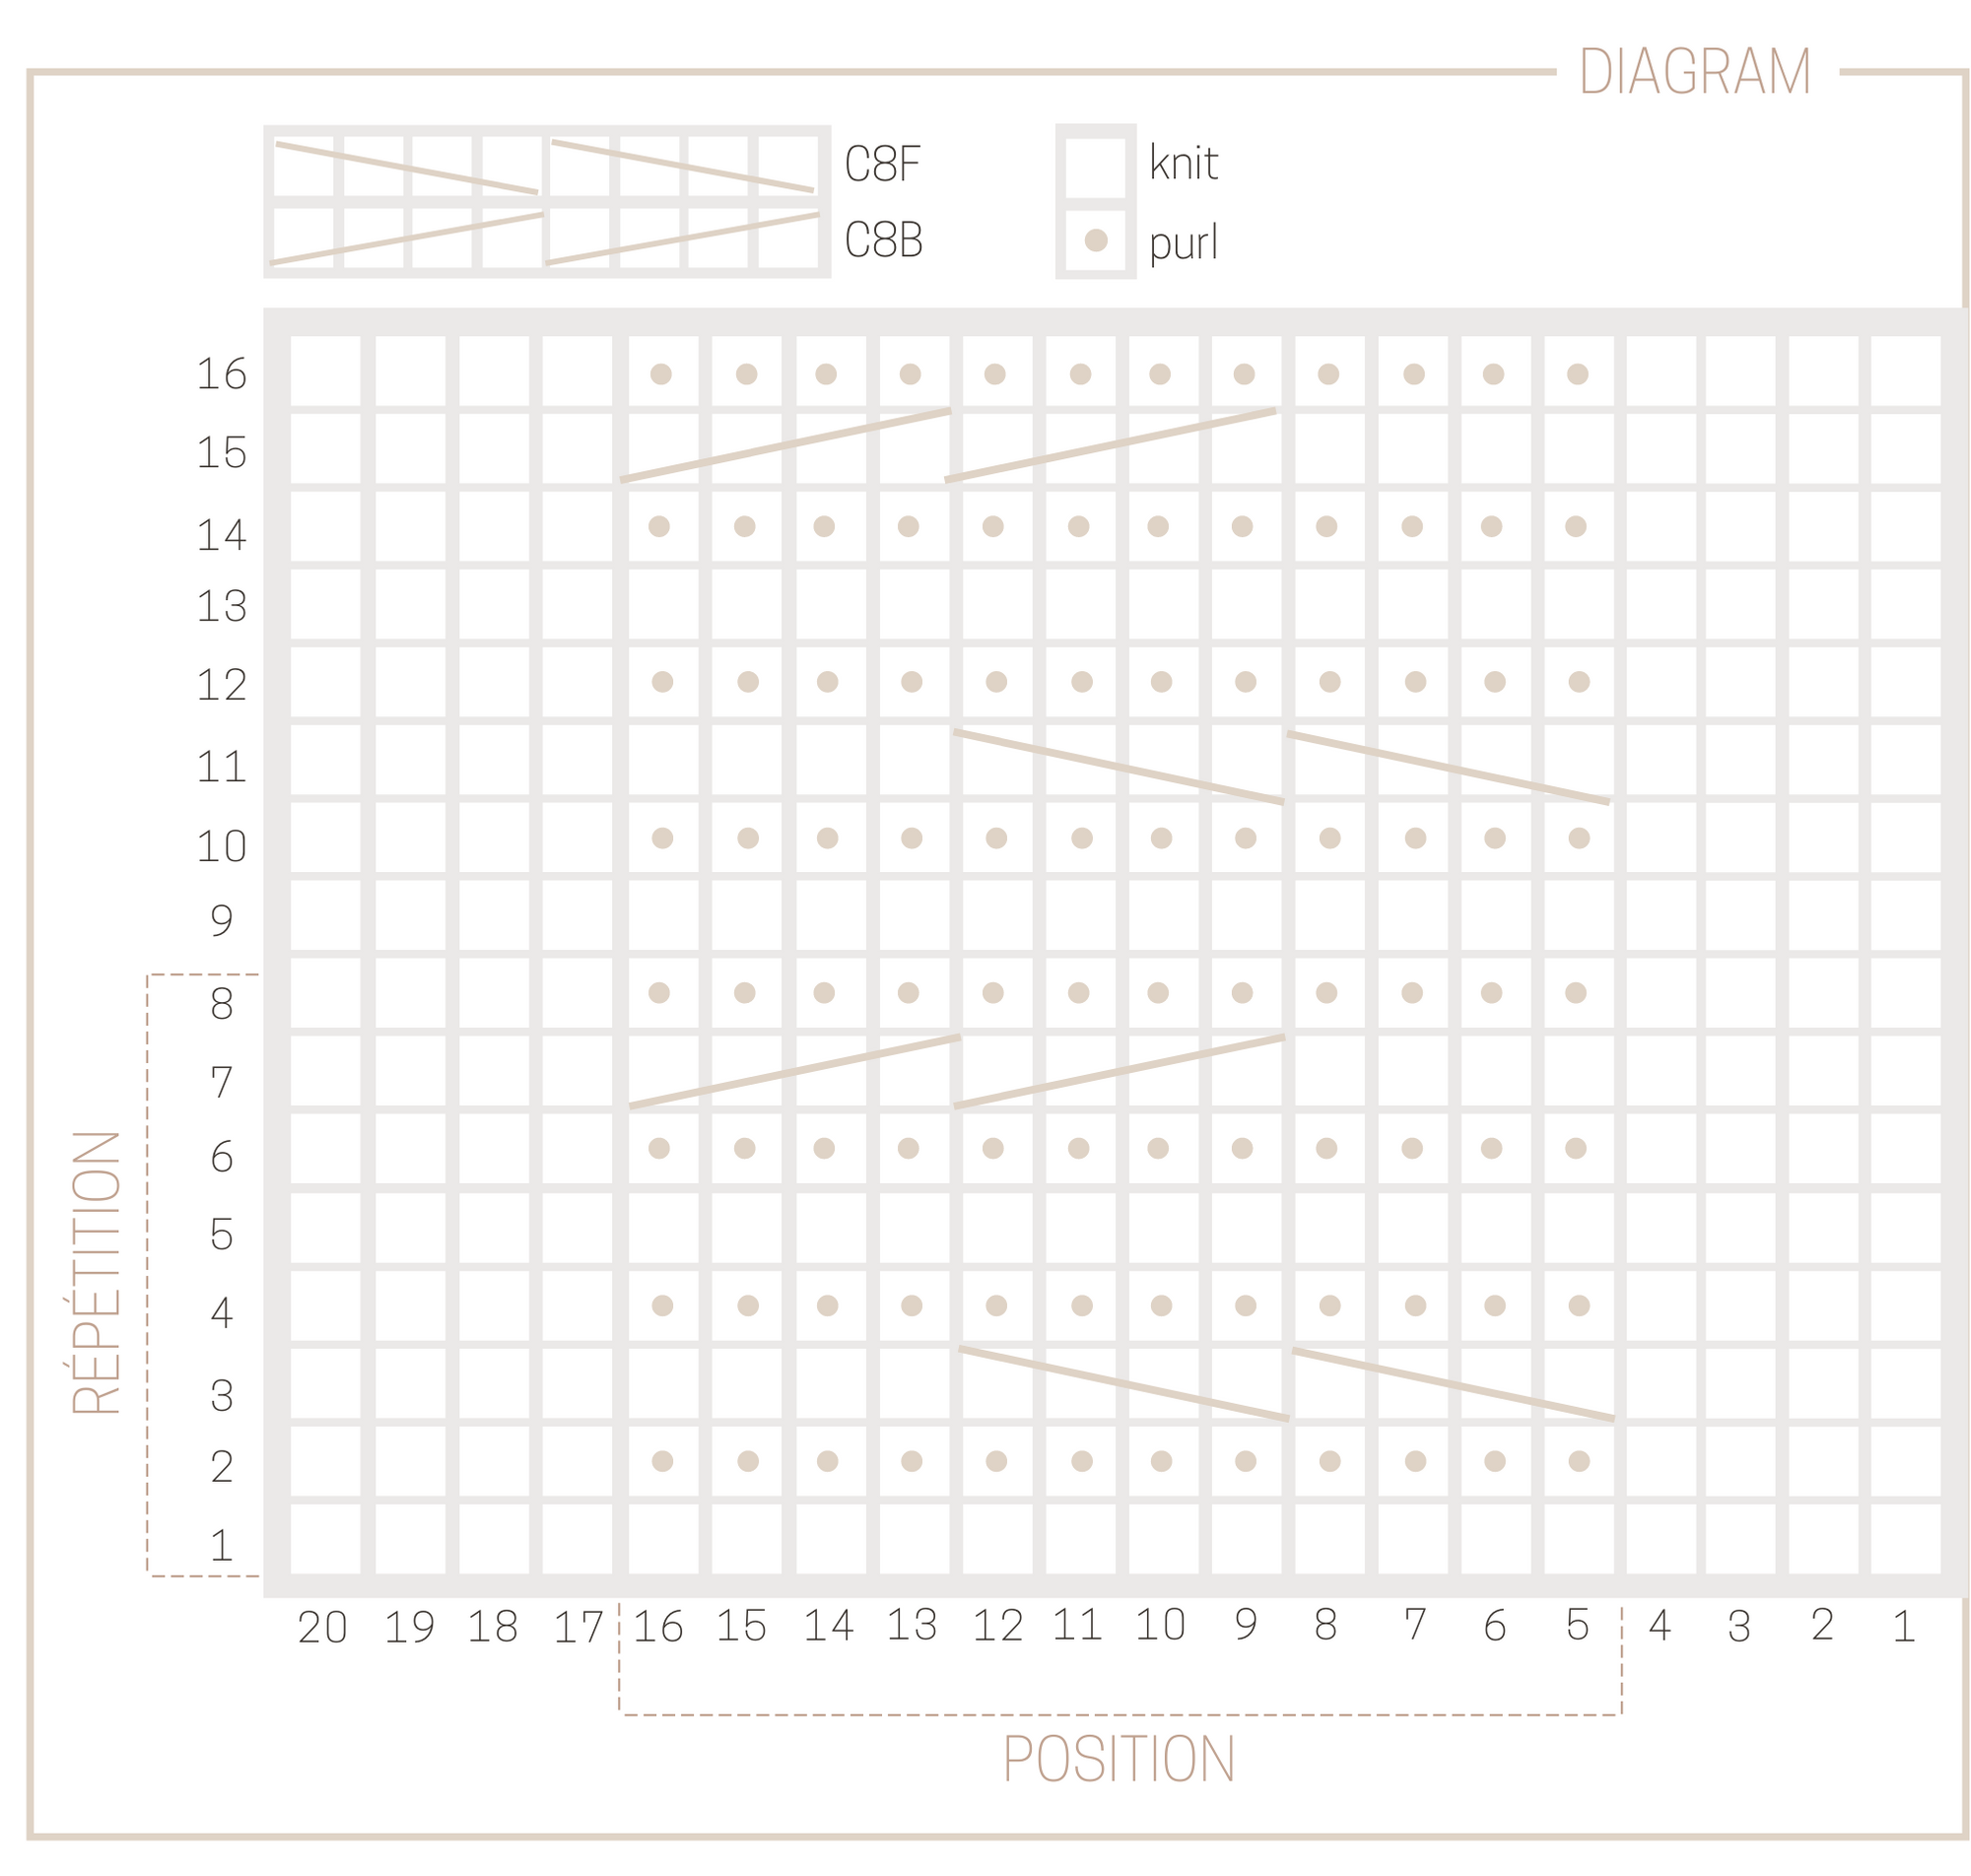
How to read the diagram :
We are knitting in the rows -. so the diagram will be read from right to left for odd rows (= on the right side of the work) and from left to right for the even rows (= on the wrong side of the work)
Diagram's translation :
Cast-on 20 stitches on your needles.
Row 1 : Knit all the row
Row 2 : knit 4 stitches, purl 12 stitches, knit 4 stitches
Row 3 : knit 4 stitches, C8F, knit 8 stitches
Row 4 : knit 4 stitches, purl 12 stitches, knit 4 stitches
Row 5 : Knit all the row
Row 6 : knit 4 stitches, purl 12 stitches, knit 4 stitches
Row 7 : knit 8 stitches, C8B, knit 4 stitches
Row 8 : knit 4 stitches, purl 12 stitches, knit 4 stitches
Repeat these 8 rows to create the braid cable.
How to adapt :
We have knitted here a braid cable with three strands, each one made up of 4 stitches, (12 stitches in all, 3x4 stitches) by cable front and back 1 row out of 4.
I think it's a good ratio, but note that you can easily adapt it to your preferences.
For example, if you want a thinner braid and more elongated, you can knit 3 stitches per strand (so the braid cable will have 9 stitches in all), and cable front and back 1 row out of 6.
No more excuses not to try !
Tell me if you liked this tutorial in the comments, and share this post with your knitting friends !
You like my work ? Support me by offering me a virtual coffee with Ko-fi ! It will help me to continue to share quality content with you.
Thank you so much !

Déborah - Knit On - 05/21/2021 14:52:29
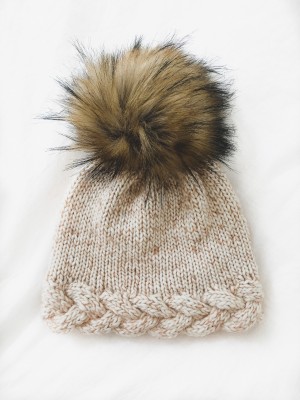
Bonjour Jeanne et merci pour votre commentaire ! La torsade horizontale dont vous parlez est la torsade du Baguette beanie : en effet cette torsade a été tricotée à part, puis ensuite les mailles de la lisière ont été relevées pour tricoter le haut du bonnet. Vous pouvez retrouver le patron de ce modèle sur la boutique en ligne knit-on.fr. Bon tricot !
jeanne - 05/11/2021 09:53:44
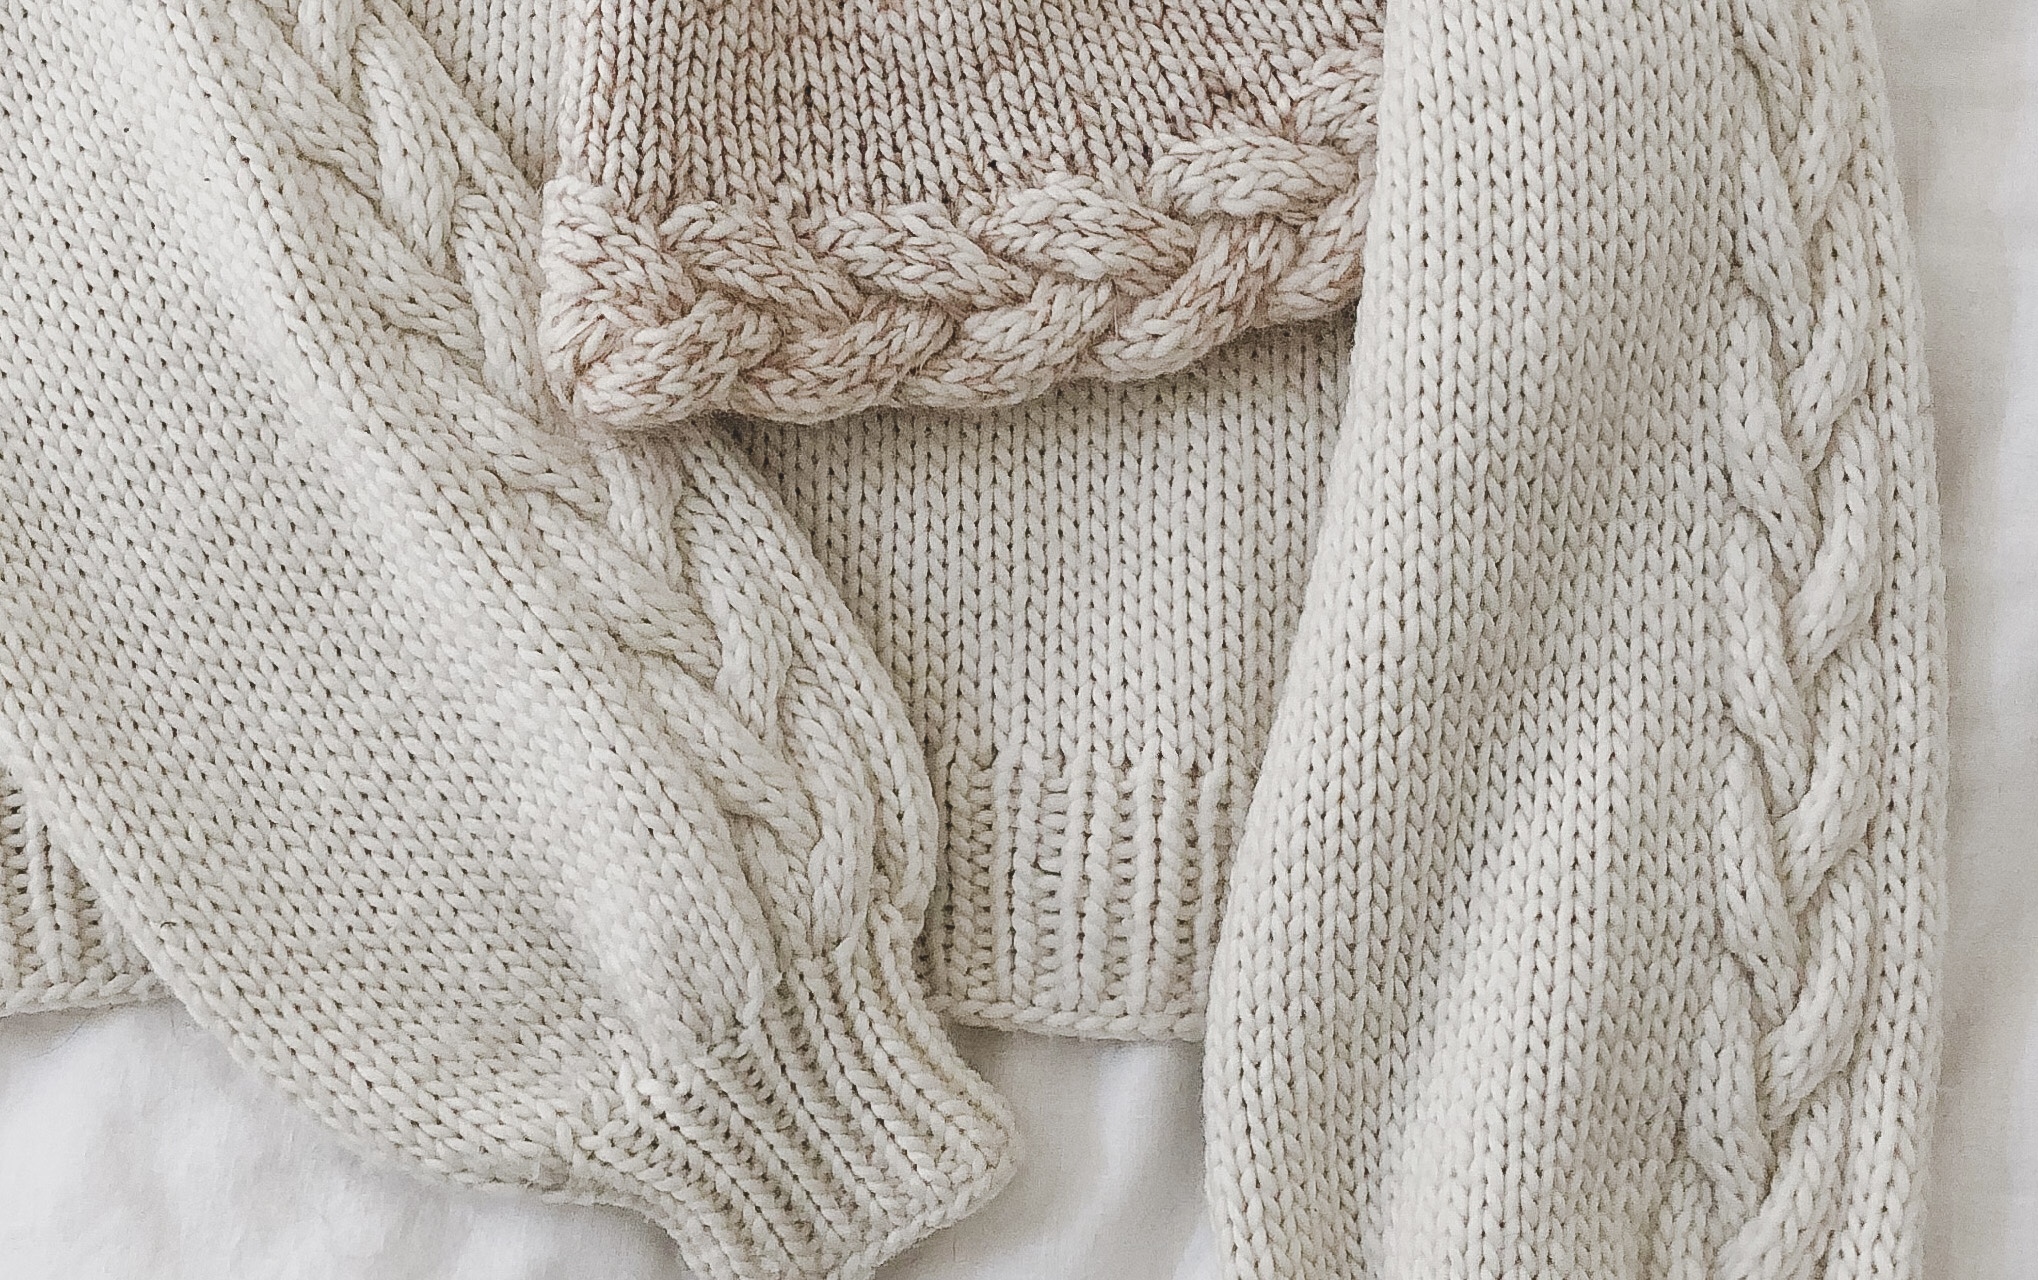
bonjour et merci pour cette belle explication efficace. Sur le photo d'illustration, il y a une torsade qui apparaît horizontalement au bas d'un pan de jersey. Est-ce une tresse tricotée à part et cousue ensuite au bas du jersey ? Merci :-)
Cable Tray Manufacturer - 01/27/2021 12:01:35
Thanks for sharing this blog. Cable Tray Manufacturer